-
Canvas(9)_애니메이션 활용Canvas 2022. 10. 13. 15:03
해당 게시글은 2022.03.10에 깃허브로 작성되었습니다.
1. 공 그리기
공을 이용해 애니메이션을 배워볼 것이기에 먼저 canvas에 공을 그린다.
이번 canvas는 width 600에 height 300의 속성을 가진다.
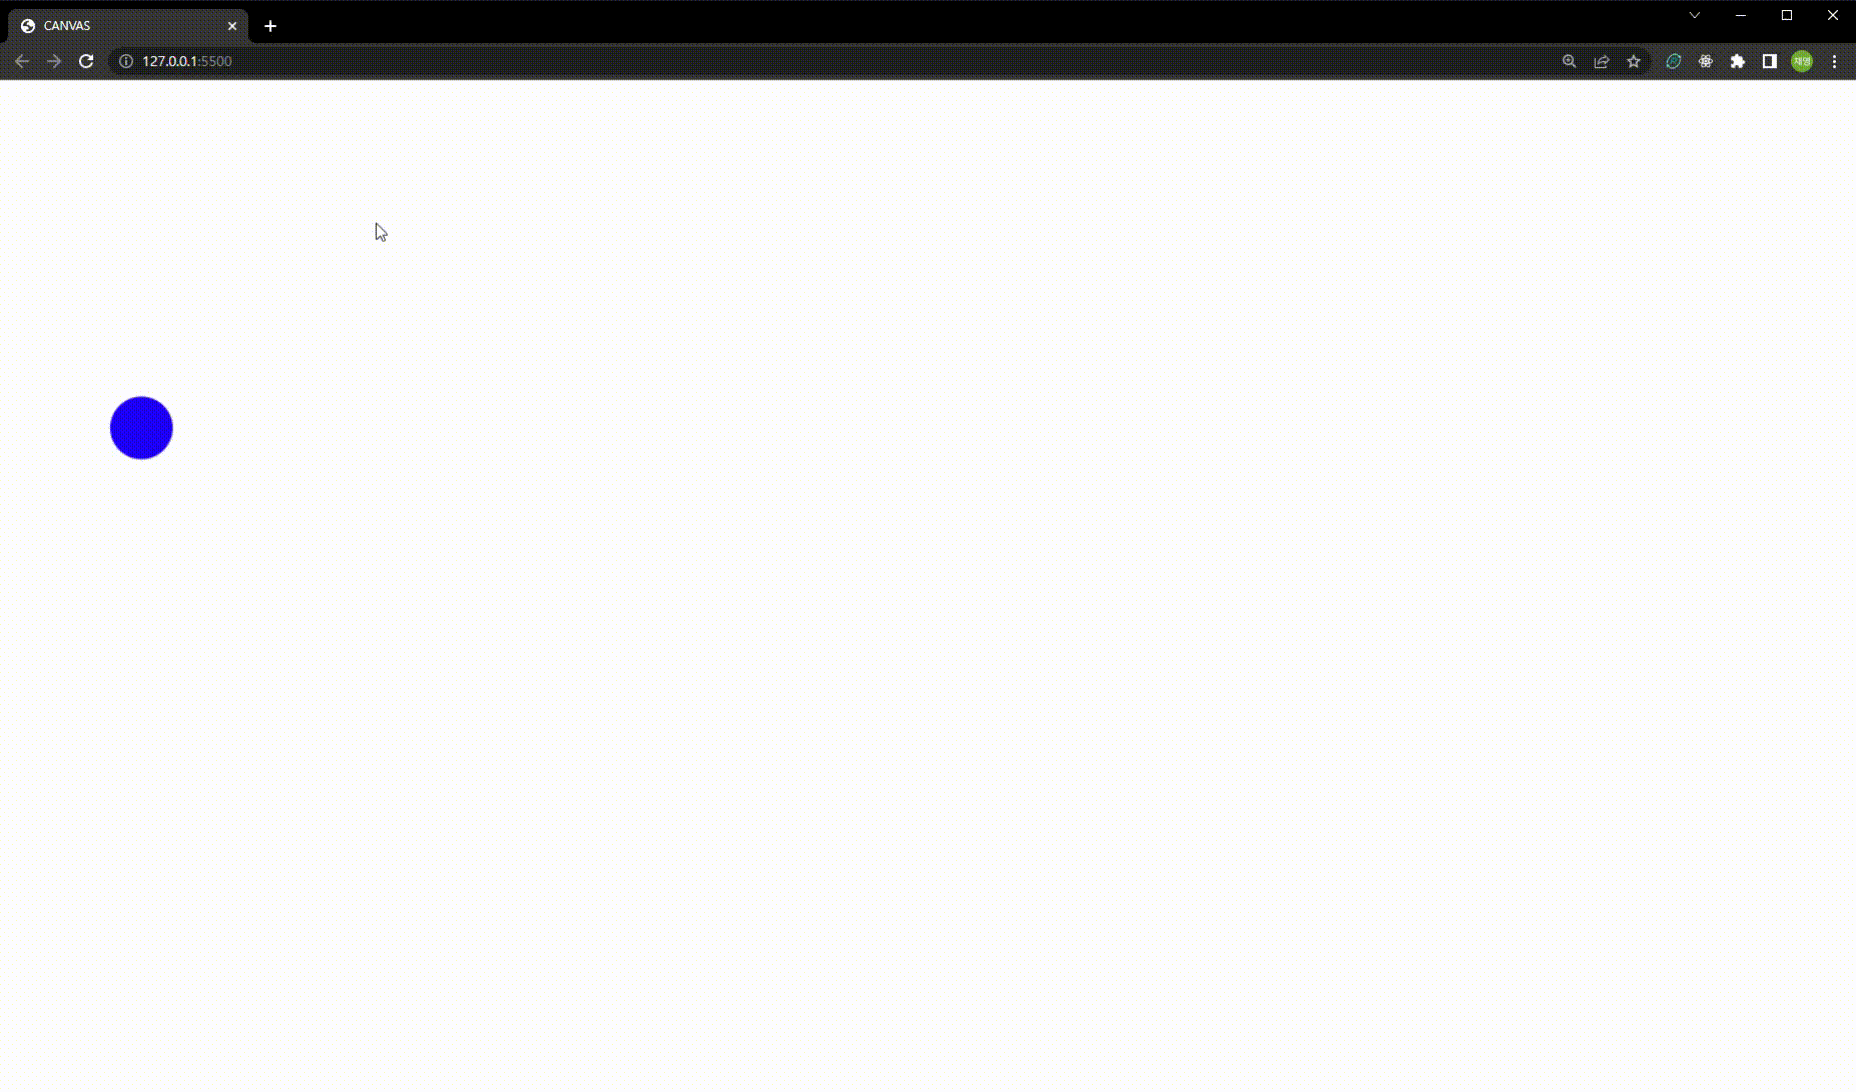
var canvas = document.getElementById('canvas');
var ctx = canvas.getContext('2d');

var ball = {
  x: 100,
  y: 100,
  radius: 25,
  color: 'blue',
  draw: function() {
    ctx.beginPath();
    ctx.arc(this.x, this.y, this.radius, 0, Math.PI * 2, true);
    ctx.closePath();
    ctx.fillStyle = this.color;
    ctx.fill();
  }
};

ball.draw();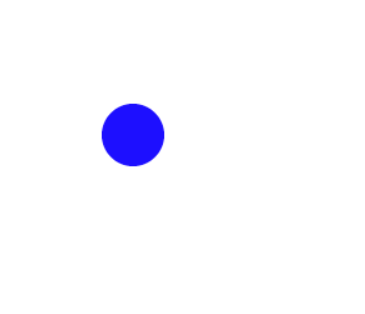
2. 속도 추가하기
var canvas = document.getElementById('canvas');
var ctx = canvas.getContext('2d');
var raf;

var ball = {
  x: 100,
  y: 100,
  vx: 5,
  vy: 2,
  radius: 25,
  color: 'blue',
  draw: function() {
    ctx.beginPath();
    ctx.arc(this.x, this.y, this.radius, 0, Math.PI * 2, true);
    ctx.closePath();
    ctx.fillStyle = this.color;
    ctx.fill();
  }
};

function draw() {
  ctx.clearRect(0,0, canvas.width, canvas.height);
  ball.draw();
  ball.x += ball.vx;
  ball.y += ball.vy;
  raf = window.requestAnimationFrame(draw);
}

canvas.addEventListener('mouseover', function(e) {
  raf = window.requestAnimationFrame(draw);
});

canvas.addEventListener('mouseout', function(e) {
  window.cancelAnimationFrame(raf);
});

ball.draw();
애니메이션 컨트롤은 window.requestAnimationFrame()이 도와준다.
공은 위치에 속도 벡터를 추가하여 움직일 수 있게 된다.
각각의 프레임에 clear를 canvas에 주어 원을 이전 프레임에서 지운다.
그럼 공이 왼쪽 위에서 오른쪽 아래로 움직이는 걸 확인할 수 있다.
3. 경계
공의 x와 y 위치가 canvas를 빠져나갔는지 확인해서 방향과 속도를 바꿔줘야 한다.
그러기 위해 draw 메소드에 아래 코드를 추가한다.
if (ball.y + ball.vy > canvas.height || ball.y + ball.vy < 0) {
  ball.vy = -ball.vy;
}
if (ball.x + ball.vx > canvas.width || ball.x + ball.vx < 0) {
  ball.vx = -ball.vx;
}
여기까지 작성 후 결과를 확인해보면, 브라우저 내로 마우스를 올릴 시, 공이 움직이며 canvas 외곽에 부딪힐 때마다 방향을 바꿔서 이동하고 있다.
4. 가속
움직임을 더 리얼하게 만들기 위해 속도를 아래와 같이 준다.
ball.vy *= .99;
ball.vy += .25;
매 프레임의 세로 속도를 줄여주어 공이 점점 바닥에서 튀도록 만든다.
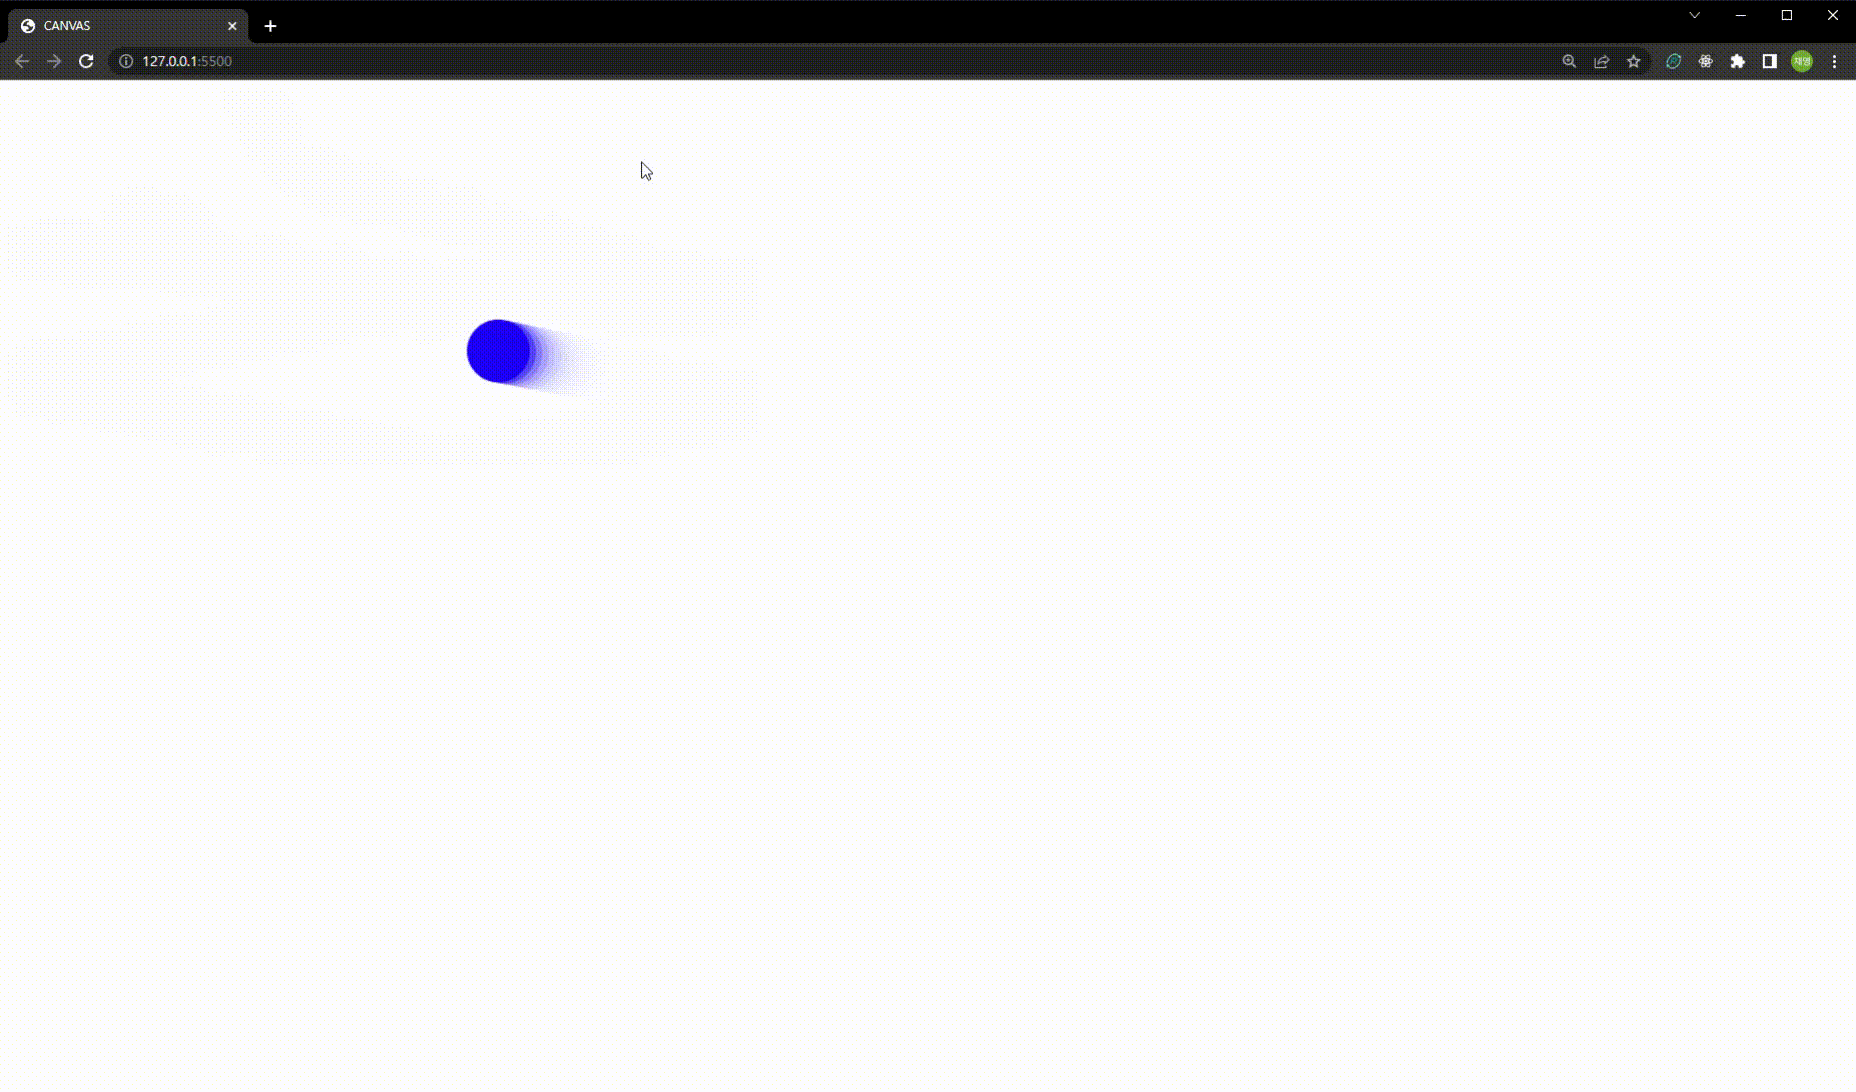
5. 블러 효과
fillRect()를 사용하여 투명도를 주면 쉽게 블러 효과를 만들 수 있다.
ctx.fillStyle = 'rgba(255, 255, 255, 0.3)';
ctx.fillRect(0, 0, canvas.width, canvas.height);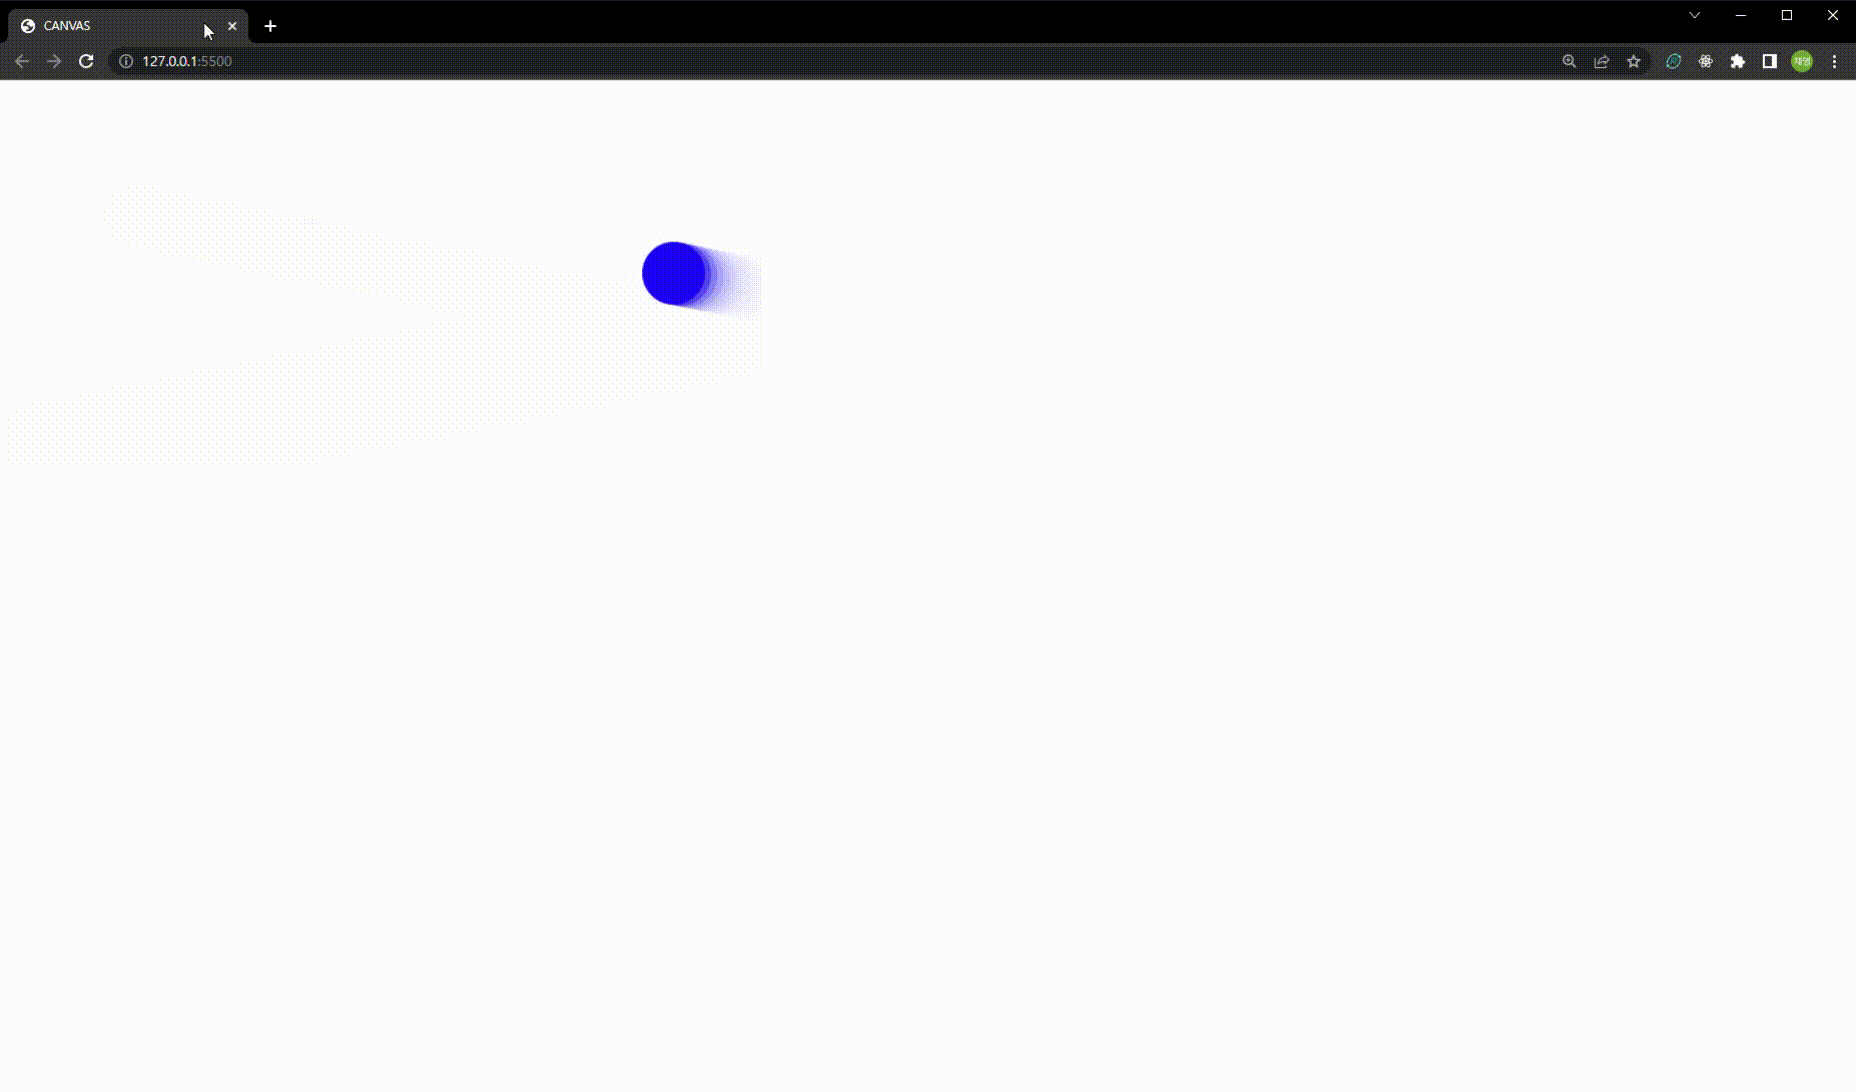
6. 마우스 컨트롤 추가하기
공을 컨트롤하기 위해 mousemove 이벤트를 사용하여 마우스를 따라오게 할 수 있다.
또한 click 이벤트를 통해 공을 놓으면 다시 공이 튀도록 한다.
var canvas = document.getElementById('canvas');
var ctx = canvas.getContext('2d');
var raf;
var running = false;

var ball = {
  x: 100,
  y: 100,
  vx: 5,
  vy: 1,
  radius: 25,
  color: 'blue',
  draw: function() {
    ctx.beginPath();
    ctx.arc(this.x, this.y, this.radius, 0, Math.PI * 2, true);
    ctx.closePath();
    ctx.fillStyle = this.color;
    ctx.fill();
  }
};

function clear() {
  ctx.fillStyle = 'rgba(255, 255, 255, 0.3)';
  ctx.fillRect(0,0,canvas.width,canvas.height);
}

function draw() {
  clear();
  ball.draw();
  ball.x += ball.vx;
  ball.y += ball.vy;

  if (ball.y + ball.vy > canvas.height || ball.y + ball.vy < 0) {
    ball.vy = -ball.vy;
  }
  if (ball.x + ball.vx > canvas.width || ball.x + ball.vx < 0) {
    ball.vx = -ball.vx;
  }

  raf = window.requestAnimationFrame(draw);
}

canvas.addEventListener('mousemove', function(e) {
  if (!running) {
    clear();
    ball.x = e.clientX;
    ball.y = e.clientY;
    ball.draw();
  }
});

canvas.addEventListener('click', function(e) {
  if (!running) {
    raf = window.requestAnimationFrame(draw);
    running = true;
  }
});

canvas.addEventListener('mouseout', function(e) {
  window.cancelAnimationFrame(raf);
  running = false;
});

ball.draw();
브라우저 영역 내에 마우스를 올리면 공이 마우스를 따라 움직이고
클릭 시 공을 놓게 된다.
이렇게 다양한 챕터와 예제를 통해 canvas에 대해 알아봤다.
canvas는 직접 여러 변수를 주고 직접 확인해야 이해와 응용이 빠르니 참고하면 좋을 것 같다.
'Canvas' 카테고리의 다른 글
[canvas] Canvas 튜토리얼(1)_Canvas를 활용한 게임 개발과 보안 강화 (0) 2025.01.05 Canvas(8)_기본 애니메이션 (0) 2022.10.13 Canvas(7)_합성 및 클리핑 (0) 2022.10.13 Canvas(6)_변형 (0) 2022.10.13 Canvas(5)_이미지 사용하기 (1) 2022.10.13