-
Three.js module 활용 - (1) BasicThree.js 2022. 9. 26. 14:27
[이전 글]
https://chaeng03.tistory.com/12
Three.js 입문기
해당 게시글은 2022.05.11에 깃허브로 작성되었습니다. 여느때와 같이 다양한 레퍼런스 사이트를 보던 중 Three.js를 활용한 사이트들을 많이 접하게 되었고 볼 때마다 나도 구현해보고 싶다는 생
chaeng03.tistory.com
해당 게시글은 2022.05.11에 깃허브로 작성되었으며
아래 유튜브 강의 영상을 수강하며 공부한 내용을 기재했습니다.
https://www.youtube.com/watch?v=ZGACJosABBw&list=PLe6NQuuFBu7HqxY10b6gNu6iisT2-rZv-
1. 기본 세팅
이전 시간에 Three.js 공식 사이트에서 다운로드했던 압축폴더를 이용하여 다양한 예제를 만들어보자.
Three.js – JavaScript 3D Library
threejs.org
우선 압축을 해제해보면 아래와 같은 폴더 구조가 나올텐데 이를 본인이 사용하는 코드 에디터에서 열어보자.

(1) 파일 생성
해당 디렉토리 내에 study 폴더를 생성하고 아래 파일들을 생성 및 작성해준다.
<!-- study/01_basic.html -->
<!DOCTYPE html>
<html lang="en">
<head>
  <meta charset="UTF-8">
  <meta http-equiv="X-UA-Compatible" content="IE=edge">
  <meta name="viewport" content="width=device-width, initial-scale=1.0">
  <title>01_Basic</title>
  <link rel="stylesheet" href="01_basic.css">
  <script type="module" src="01_basic.js" defer></script>
</head>
<body>
  <div id="webgl-container"></div>
</body>
</html>
/* study/01_basic.css */ * {outline: none; margin: 0;} body {overflow: hidden;} #webgl-container {position: absolute; top: 0; left: 0; width: 100%; height: 100%;}// study/01_basic.js import * as THREE from '../build/three.module.js'; class App { constructor() { const divContainer = document.querySelector('#webgl-container'); this._divContainer = divContainer; const renderer = new THREE.WebGLRenderer({antialias: true}); renderer.setPixelRatio(window.devicePixelRatio); divContainer.appendChild(renderer.domElement); this._renderer = renderer; const scene = new THREE.Scene(); this._scene = scene; this._setupCamera(); this._setupLight(); this._setupModel(); window.onresize = this.resize.bind(this); this.resize(); requestAnimationFrame(this.render.bind(this)); } window.onload = function () { new App(); }여기서 01_basci.html 파일의 아래 부분을 보면 script를 module 타입으로 import 하고 있는데
우리는 이번 편에서 three.module.js 파일을 활용할 예정이기 때문이다.
또한 defer 속성을 지정하게 되면 이 페이지가 모두 로딩된 이후에 해당 javascript를 실행시키게 한다.
<script type="module" src="./js/01_basic.js" defer></script>제일 중요한 01_basic.js 파일을 하나하나 살펴보자.
(2) three.module import
우선 디렉토리에 존재하는 three.module.js를 아래 코드를 통해 import해줌으로써 Three.js에서 제공하는 기능을 사용할 수 있게 한다.
// study/01_basic.js
import * as THREE from '../build/three.module.js';
이어서 01_basic.html에서 생성한 webgl-container id를 가진 div를 찾아서 divContainer 변수에 대입해준다.
그리고 this._divContainer를 통해 해당 App CLASS 내부에서만 사용할 _divContainer라는 변수를 생성한다.
const divContainer = document.querySelector('#webgl-container');
this._divContainer = divContainer;
(3) renderer
antialias: true는 저번 시간에도 사용했듯이 깨져보이는 현상을 막아주는 부분이다.
setPixelRatio는 canvas의 픽셀비율을 정하는 기능 인데 window.devicePixelRatio를 통해 현재 디바이스의 픽셀비율을 따르도록 설정한다.
이어서 divContainer에 자식요소로 renderer를 추가함으로써 공간에 대한 3D object를 그릴 canvas에 대한 기본적인 설정을 마무리하였다.
const renderer = new THREE.WebGLRenderer({antialias: true});
renderer.setPixelRatio(window.devicePixelRatio);
divContainer.appendChild(renderer.domElement);
this._renderer = renderer;
앞에 THREE가 붙는 것은Three.js에서 제공하는 기능을 사용한다 는 의미이다.
(4) scene
이제 3D object의 공간이 될 scene을 생성하고
아직 정의하지 않았지만 camera와 light, model(mesh)에 대한 설정과 기능을 정의한 함수들을 호출시켜준다.
const scene = new THREE.Scene();
this._scene = scene;

this._setupCamera();
this._setupLight();
this._setupModel();

window.onresize = this.resize.bind(this);
this.resize();

requestAnimationFrame(this.render.bind(this));
이어서 window가 resize될 때 this.resize.bind(this);를 통해 App CLASS를 bind함으로써 App CLASS를 타겟으로 잡아주고 resize 함수를 호출시킨다.
2. Camera, Light, Model
그럼 이제 정의하지 않고 호출만 한 함수들을 정의해보자.
(1) Camera
_setupCamera는 camera를 정의하는 함수다.
우선 canvas의 가로, 세로 크기를 구한 뒤, 변수에 대입한다.
_setupCamera () {
  const width = this._divContainer.clientWidth;
  const height = this._divContainer.clientHeight;
  const camera = new THREE.PerspectiveCamera(
    75,
    width / height,
    0.1,
    100
  );
  camera.position.z = 2;
  this._camera = camera;
}
그 후 PerspectiveCamera를 통해 카메라의 시야각(Field of View), 가로세로비(ASPECT), 하한값(NEAR), 상한값(FAR)을 설정해준다.
camera의 기본 position은 (0, 0, 0) 이므로 object가 더 잘 보이도록 z값을 변경해준다.
camera.position.z는 값이 클수록 멀어지고 작을수록 가까워진다.
(2) Light
_setupLight은 light를 정의하는 함수다.
light의 색깔을 color를 통해 정의하고 intensity로 빛의 세기를 정의한 뒤
이를 light라는 변수 안에 DirectionalLight 광원으로 위에서 정의한 설정들을 대입함으로써 light를 생성한다.
이어서 light의 position을 설정하고 공간인 scene에 추가함으로써 3D object와 상호작용할 수 있게 한다.
_setupLight() {
  const color = 0xffffff;
  const intensity = 1;
  const light = new THREE.DirectionalLight(color, intensity);
  light.position.set(-1, 2, 4);
  this._scene.add(light);
}
(3) Model
_setupModel은 Model(3D object | Mesh)을 정의하는 함수다.
Mesh 생성 시에는 geometry(뼈대)와 material(질감) 설정이 필수인데
x, y, z가 (1, 1, 1)이며 색상이 44a88인 box를 생성하고 있다.
_setupModel() {
  const geometry = new THREE.BoxGeometry(1, 1, 1);
  const material = new THREE.MeshPhongMaterial({color: 0x44a88});

  const cube = new THREE.Mesh(geometry, material);

  this._scene.add(cube);
  this._cube = cube;
}
이어서 이를 scene에 추가함으로써 보여지게 한다.
3. resize, render, update
(1) resize
resize함수는 초반에 window가 resize될 때 호출시키는 함수였는데
window가 resize될 때마다 가로, 세로값을 재정의하고
카메라의 가로세로비, renderer의 사이즈에 대입함으로써 반응형으로 실행할 수 있게끔 한다.
resize() {
  const width = this._divContainer.clientWidth;
  const height = this._divContainer.clientHeight;

  this._camera.aspect = width / height;
  this._camera.updateProjectionMatrix();

  this._renderer.setSize(width, height);
}
(2) render
render 함수 또한 초반에 requestAnimationFrame 내에서 실행됐었는데 time을 인자로 받고 있다.
이 time은 requestAnimationFrame이 전달해주는 값이다.
render(time) {
  this._renderer.render(this._scene, this._camera);
  this.update(time);
  requestAnimationFrame(this.render.bind(this));
}

update(time){
  time *= 0.001;
  this._cube.rotation.x = time;
  this._cube.rotation.y = time;
}
render 함수를 통해 scene을 camera의 시점으로 렌더링하도록 명령하고
update 함수에 time 인자를 전달하면서 호출해준다.
update 함수는 시간이 갈수록 우리가 생성한 cube가 x축과 y축을 따라 회전하도록 하는 함수이다.
마지막으로 window가 load되었을 때 App을 생성하도록 함으로써
App CLASS 내부에서 작성한 코드들이 실행되도록 한다.
  window.onload = function  () {
  new App();
}
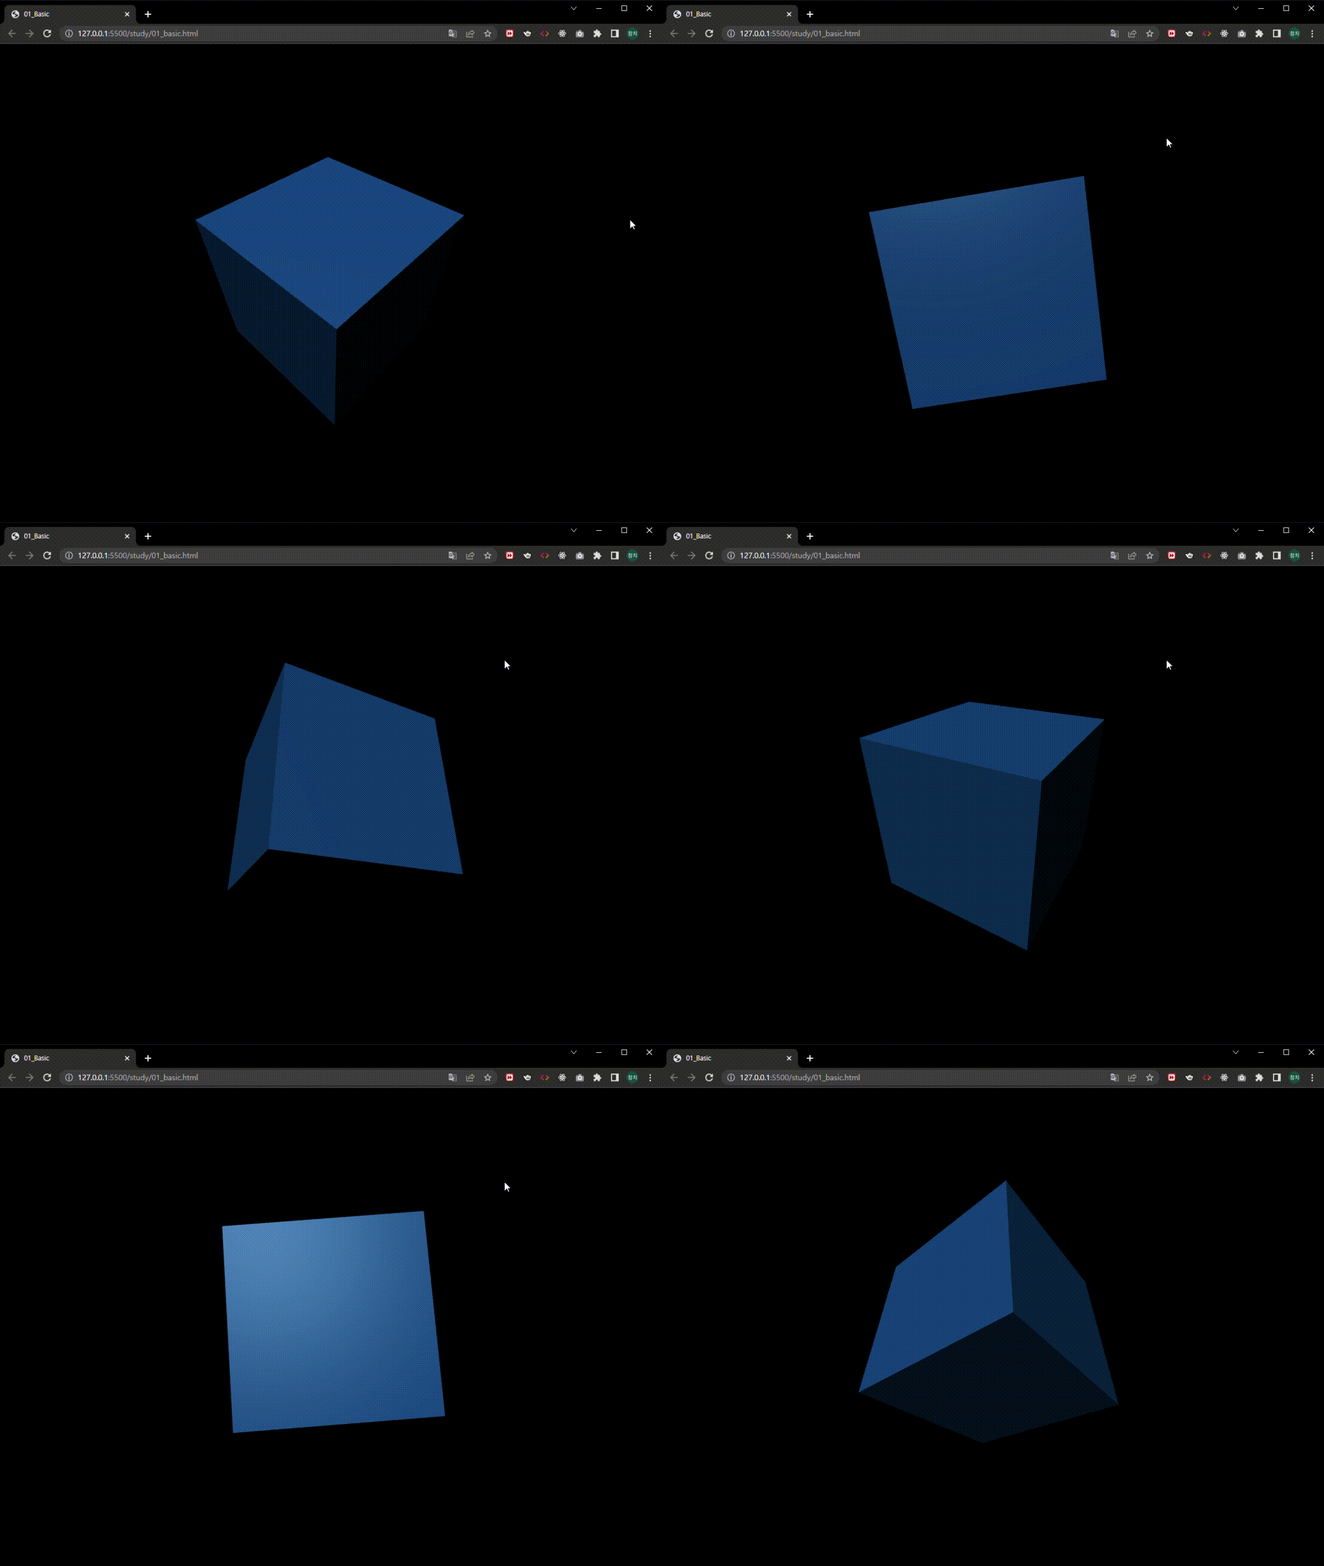
그럼 위와 같이 x축과 y축으로 회전하는 파란색 큐브를 볼 수 있을 것이다.
이렇게 module을 통해 three.js를 적용해보는 기본 방법에 대해 알아봤다.
다음은 다양한 Geometry 예제를 만들고 배워보는 시간을 가져보자.
[Three.js module 활용 - (1) Basic 전체 코드]
https://github.com/rlacodud/UID/blob/mit/Research/Three.js/three.js-master/study/01_basic.js'Three.js' 카테고리의 다른 글
Three.js module 활용 - (5) Material (1) 2022.09.26 Three.js module 활용 - (4) Scene Graph (0) 2022.09.26 Three.js module 활용 - (3) Geometry 마무리 (1) 2022.09.26 Three.js module 활용 - (2) Geometry (1) 2022.09.26 Three.js 입문기 (1) 2022.09.26